After creating the Full Stack To Do app recently, I wanted to deploy it and ended up going with GitHub Pages for the front-end and Heroku for the back-end. It was straightforward enough, but the idea of hosting part of the app in one place and the other part in another felt a bit odd so I set off on a mission to get both parts of a simplified PERN stack app hosted in the same place (Heroku).
To say it was painful would be an understatement, but with some perseverance and soooo many browser tabs of Stack Overflow, I managed to do it. And because of the pain, I thought I best make a record of exactly how I made it happen and sharing it on here may help others, like you!
There’s just a few steps involved:
- Setting up our local project
- Setting up a new App on Heroku
- Provisioning a Postgres database on Heroku
- Create your table in the Heroku Postgres database
- Deploying your app to Heroku
- Open your app!
1. Setting up our local project
In this guide, we’re going to use a specific setup and so some of the steps may change if your project folders look different (for instance, you may need to change the path to a given directory or file).
We’re going to have our React front-end in its own directory, as well as our Node/Express server. We’re going to have one Git repo managing both, as well as a shared package.json at the root. It will end up looking something like this:
/client   ## React files in here
/server   ## Node files in here
.env
.gitignore
package.json
You may already have this setup, or be able to restructure your app to match, but if you’re starting from scratch or want to follow along then I’ll take you through the steps to get there.
Creating the Project Folder, Initialising a Git Repo and npm
First, create your project folder. Let’s call it example_app for easy reference.
Open a terminal in that root /example_app directory and initialise a new Git repo:
git initCreate a new .gitignore file, too.
We also want to initialise npm to get a package.json file, so run:
npm initThen create your /client and /server directories within the root.
React Front-End
If you’re starting from scratch and want to use Create React App for the front-end, then run this instead of manually creating the /client folder:
npx create-react-app clientNode Server
We’re using a specific stack in this guide, so let’s install the packages for Express, PostgreSQL and CORS. In the terminal, make sure you’re in the /server directory, and run the following:
npm init
npm install express pg cors
In your /server directory, create an index.js file which will be the entry-point to your Node server.
When building your server, there’s a couple of considerations.
First, ensure your Express server is listening on the PORT environment variable if it’s present (which it will be on Heroku). This is because every time your server starts (or restarts) on Heroku the port can change, so hard-coding it would mean we can’t easily communicate with it.
app.listen(process.env.PORT || 5000, () => {
    console.log(`server has started on port ${process.env.PORT || 5000}`)
})
The other thing we need to do is ‘top and tail’ our server routes. This is so that we can serve up our React front-end from the /client subdirectory that it’s in, without having to navigate to it via the URL.
To do this, add the following to your server entry point, such as /server/index.js:
// Serve static files from the React frontend app
app.use(express.static(path.join(__dirname, '../client/build')))


// Your API routes go here
...

// After defining your routes, anything that doesn't match what's above, we want to return index.html from our built React app
app.get('*', (req, res) => {
    res.sendFile(path.join(__dirname + '/../client/build/index.html'))
})

app.listen...
PostgreSQL Database
To get the local Postgres database setup, I need to run the following:
psql -U postgres

# enter your password

CREATE DATABASE pern_heroku_example;

\c pern_heroku_example

CREATE TABLE items(
    item_id SERIAL PRIMARY KEY,
    name VARCHAR(255)
);
Environment Variables with dotenv
In the root of our project, we want to store the credentials we need to access the database, so run:
npm install dotenvCreate a .env file in the root and add your credentials. For instance:
DB_USER="postgres"
DB_PASSWORD="mypassword"
DB_PORT=5432
DB_HOST="localhost"
DB_NAME="pern_heroku_example"
This is just for local development, but the environment variable names will need to be consistent between local and Heroku.
Don’t forget to add .env to your root .gitignore file so that it’s not pushed up to the remote repo with your project files.
Also, remember to initialise dotenv and configure it properly where the credentials are used in your /server directory because the variables are actually one level up in the root of the project. We can do this in a couple of lines:
dotenv.config({
    path: '../.env'
})
As a reminder, you’ll need to reference environment variables using process.env.VARIABLE_NAME.
For your front-end app, we need to ensure references to our API endpoint (Node server) are conditional. We won’t be using an environment variable from the root of our project, but we will want to once it’s been pushed to Heroku. Replace YOUR_APP_URL once you’ve setup a new app on Heroku, which we’ll do shortly.
const API_URL =
  process.env.NODE_ENV === "production"
    ? "YOUR_APP_URL
    : "http://localhost:5000";
You’ll then use it like this (where /items is your API endpoint):
const response = await fetch(`${API_URL}/items`);
package.json
When we eventually deploy our app, we need to instruct Heroku what to do as part of the build process, that is to build the React app and start the Node server.
Add the following scripts to your /package.json file in the root directory:
  "scripts": {
    "start": "cd server && npm install && node index.js",
    "heroku-postbuild": "cd client && npm install && npm run build"
  },
Git and .gitignore
Finally, we want to ensure that we’ve kept some of the crap out of our Git repo by updating the .gitignore file in our root directory.
The main update would be to change /node_modules to node_modules to ignore the folder in all directories.
If you used Create React App for your front-end, you should also delete the .git folder and the .gitignore file from /client so that it’s centrally managed by the root.
Build your app!
Now is probably a good time to build out your app (if you haven’t already). The goal of this guide isn’t to teach you React, Postgres, or Node – the focus is on the deployment – so it’s entirely up to you what you build. In my case, I’m just creating a simple interface for a user to submit some text, it gets stored in the database, and it will be added to a list which is displayed to the user.
2. Setting up a new App on Heroku
By this point you should have everything up and running locally – hopefully without any issues – so now it’s time to move over to Heroku.
Login to your dashboard and click ‘New’, then ‘Create new app’.
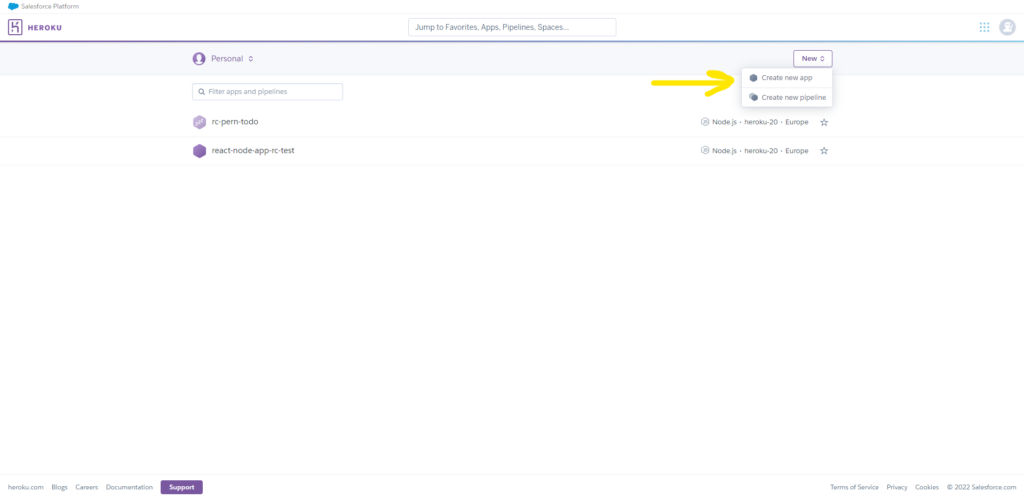
Give it a name that’s available, then click ‘Create app’.
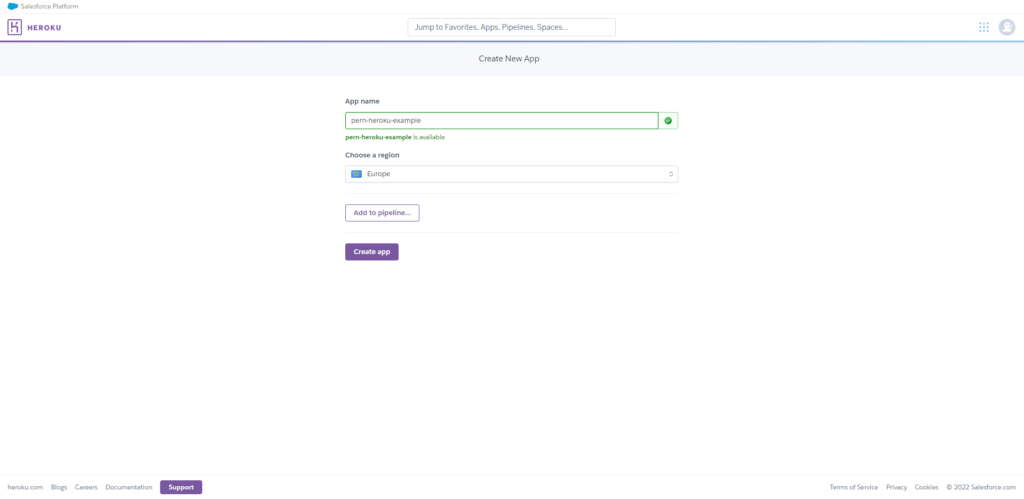
You now have a new, empty app!
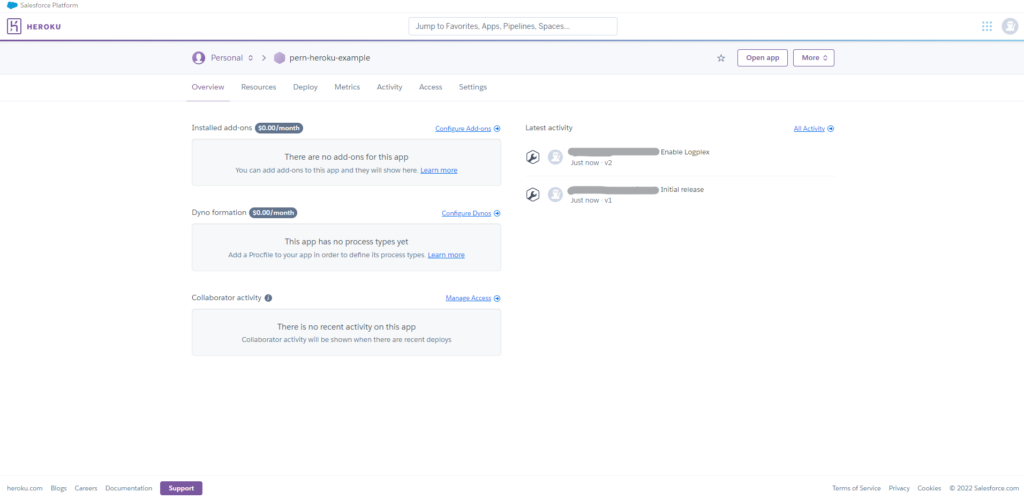
Now would be a good time to go back to your local project and add the app URL to your front-end code. Find the URL by clicking the ‘Open app’ button in the top-right of the screen. As a reminder, we used a placeholder in the code example below:
const API_URL =
  process.env.NODE_ENV === "production"
    ? "YOUR_APP_URL
    : "http://localhost:5000";
3. Provisioning a Postgres database on Heroku
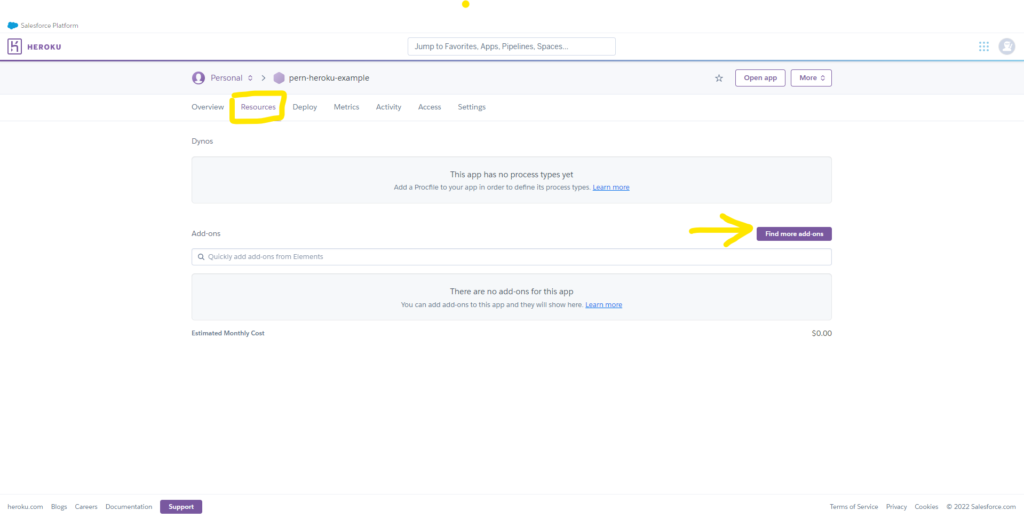
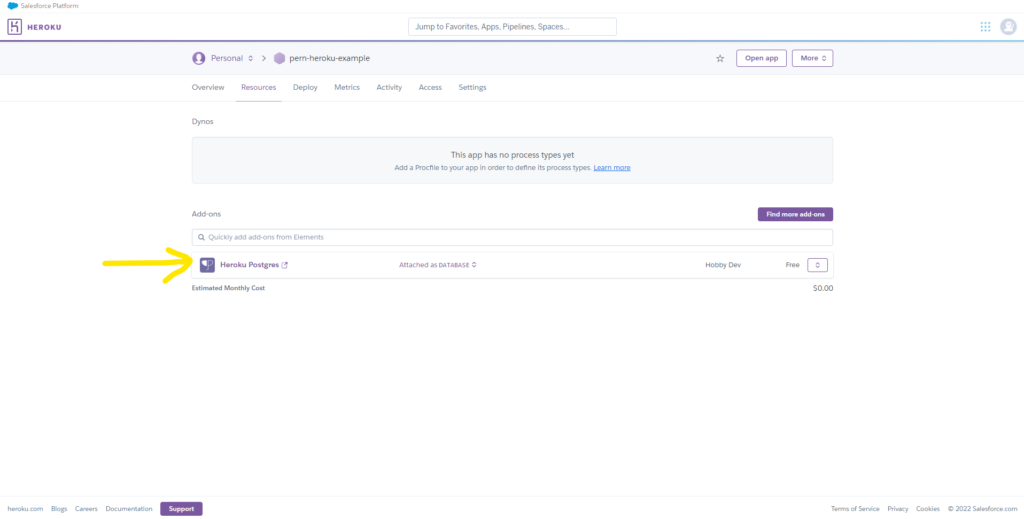
Now we have a Heroku app setup, we need to add on the Postgres database.
Go to the Resource tab, then click on ‘Find more add-ons’.
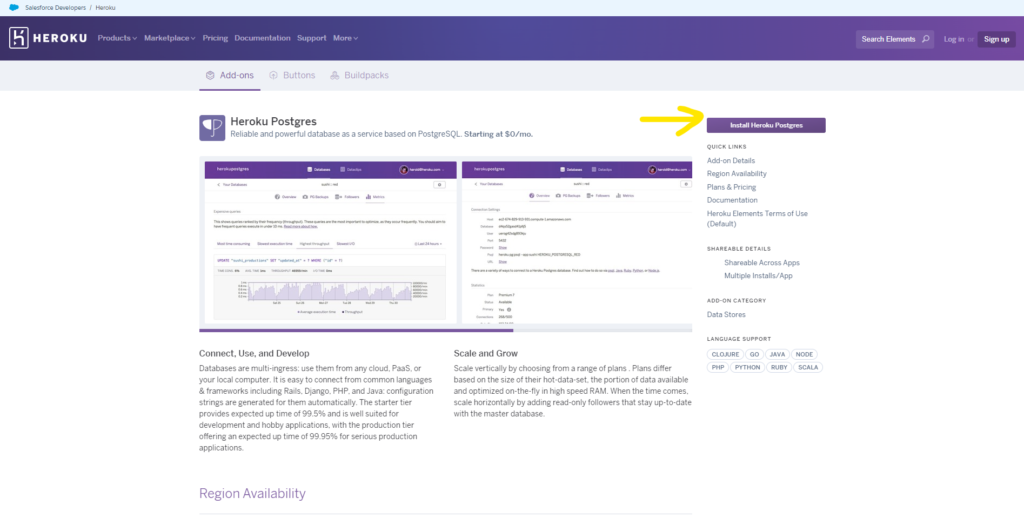
You’ll be taken to the marketplace for Add-ons, where you can search for Heroku Postgres. Alternatively, go straight to the page here.
On this page, click the ‘Install Heroku Postgres’ button.
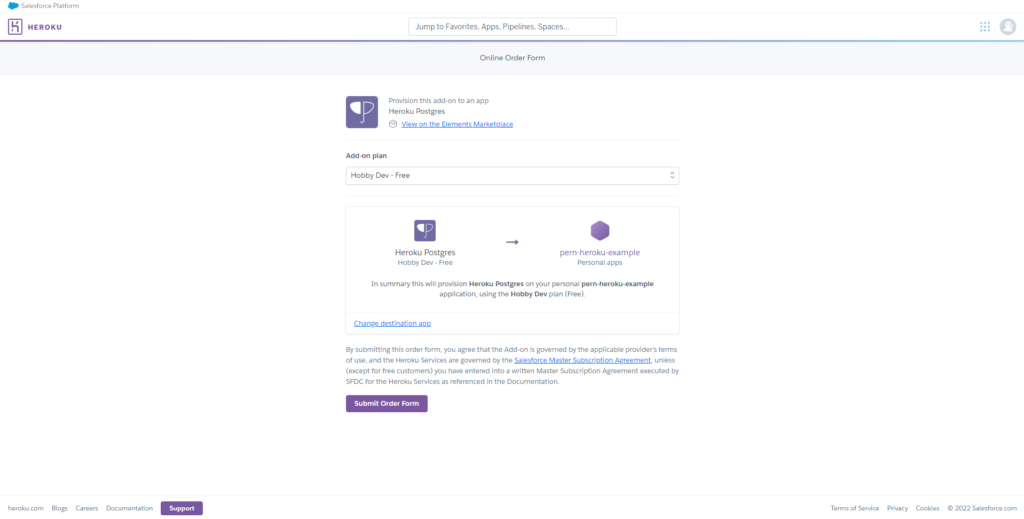
Choose a plan (e.g. ‘Hobby Dev – Free’) and search for the app you created earlier. Note that the search is pretty strict, so if your app name is “pern-heroku-example” then searching for “example” or “heroku” won’t display any results – you have to start with “pern”. Feels like crap UX to me.
You’re shown a summary screen and, when you’re ready, click the unusually formal ‘Submit Order Form’ button.
Your database has now been provisioned – woop!
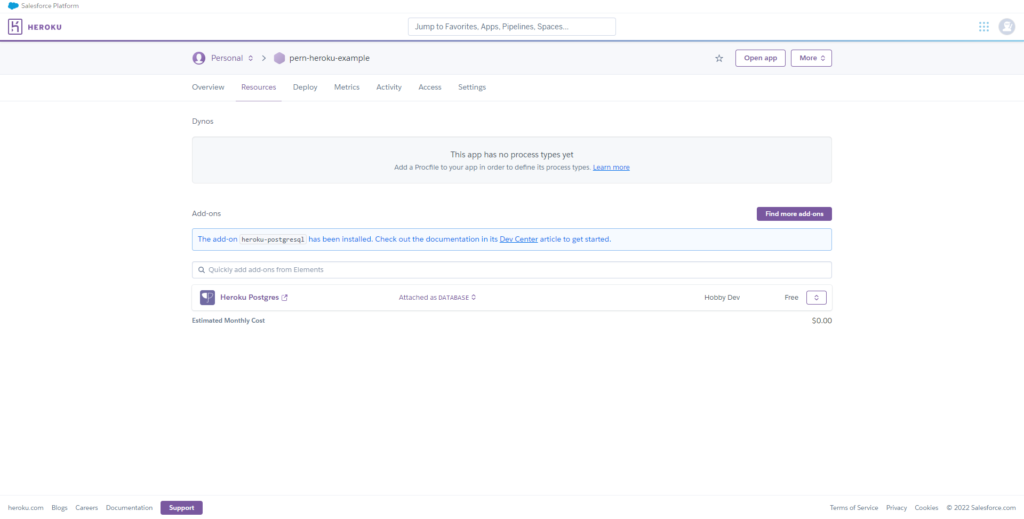
4. Create your table in the Heroku Postgres database
We now have a remote Postgres database, but it’s currently empty – there’s no table matching the schema in our local one.
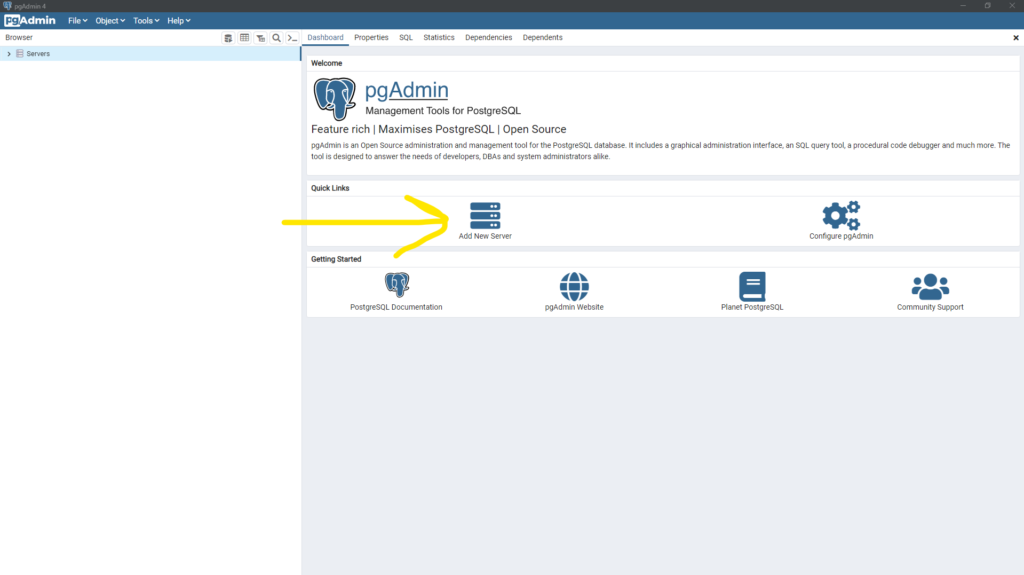
Start up pgAdmin on your local machine – it came with the installation of Postgres – and click ‘Add New Server’.
Grab the credentials from Heroku by clicking the ‘Heroku Postgres’ link on the Resources tab.
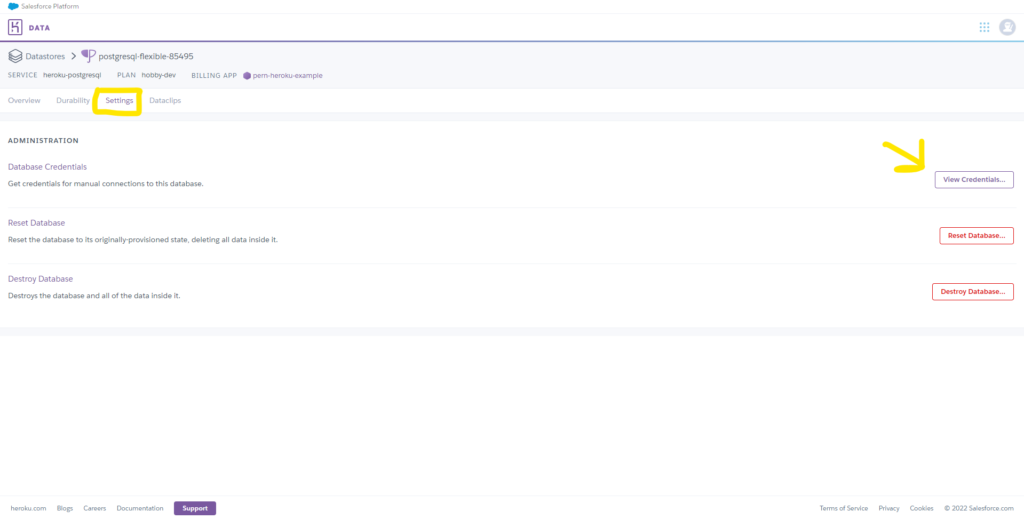
When that opens in a new tab, go to the Settings tab and click ‘View Credentials’.
Give the server a name in pgAdmin and then copy the information across to the Connection tab.
If successful, you should see some information populate the interface. You can expand your list of servers in the pane on the left. As you’ll probably see, you’re on a shared instance with lots of other databases (that you can’t access).
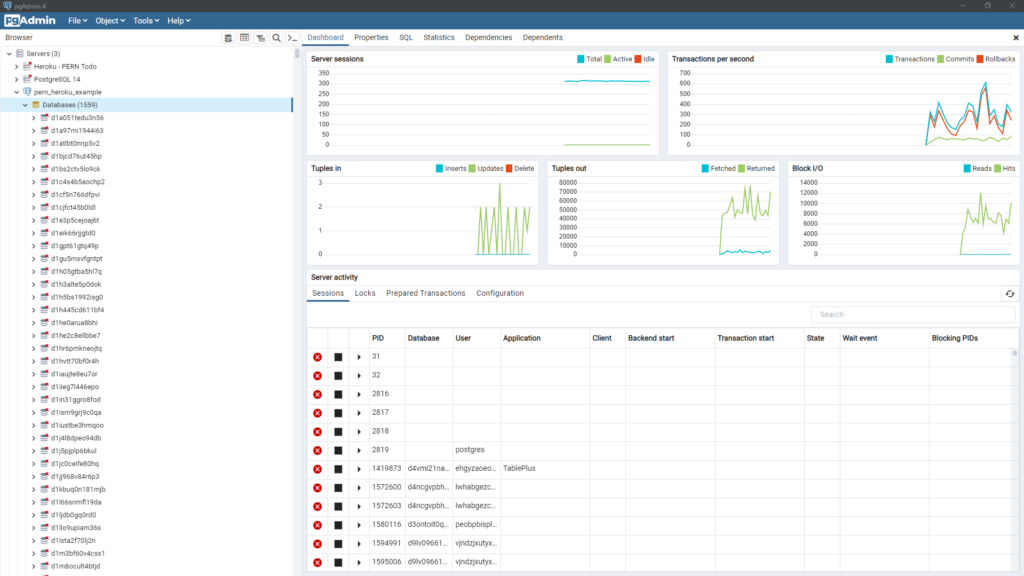
Locate your database in the list either by name, or by scrolling down to find a different icon – it should be a golden colour.
Right-click the database name, click ‘Query Tool’.
Paste in your CREATE TABLE SQL that you used to create the table on your local machine (no need to login, create the database, etc), then click the ‘Execute/Run’ button.
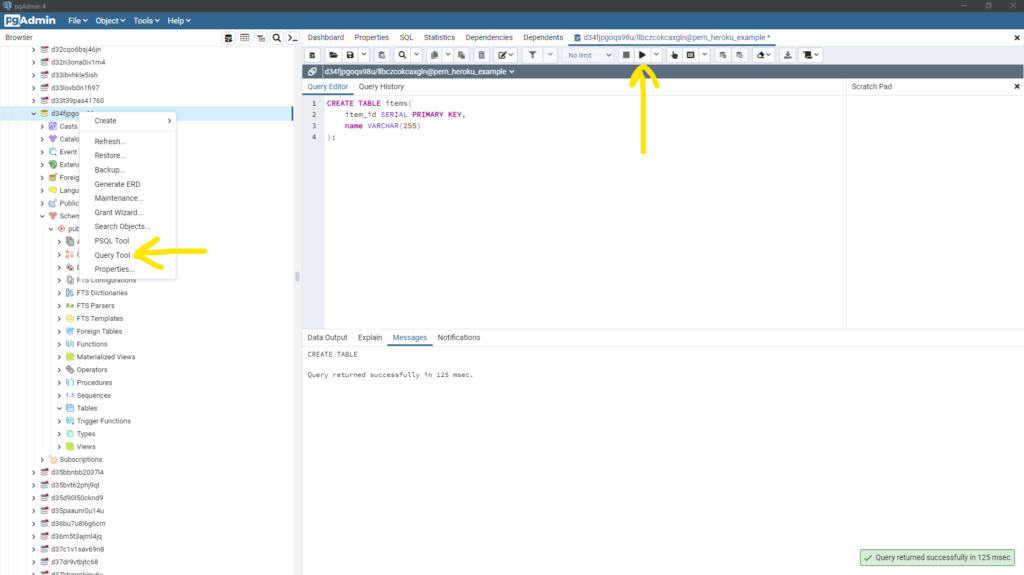
Now you have a matching table setup within your hosted Heroku database!
5. Deploying your app to Heroku
We have an app, we have a database – now we need to get our server and front-end files over to Heroku!
Start by install the Heroku CLI. Instructions are here. For Windows it involved downloading and running an installer.
Once the CLI has been installed, you need to login:
heroku loginThis will open a browser window/tab which will prompt you to login. Close the tab when you’re done.
Then, we need to setup a new remote for Git (be sure to replace the app name with yours):
heroku git:remote -a pern-heroku-exampleFinally, let’s push our files across to Heroku:
git add .
git commit -m "initial push to heroku"
git push heroku master
Moving away from the command line and back to the Heroku interface, we need to setup our environment variables that we use on our server to connect to the database.
Do this by going to the Settings tab of your app and clicking ‘Reveal Config Vars’.
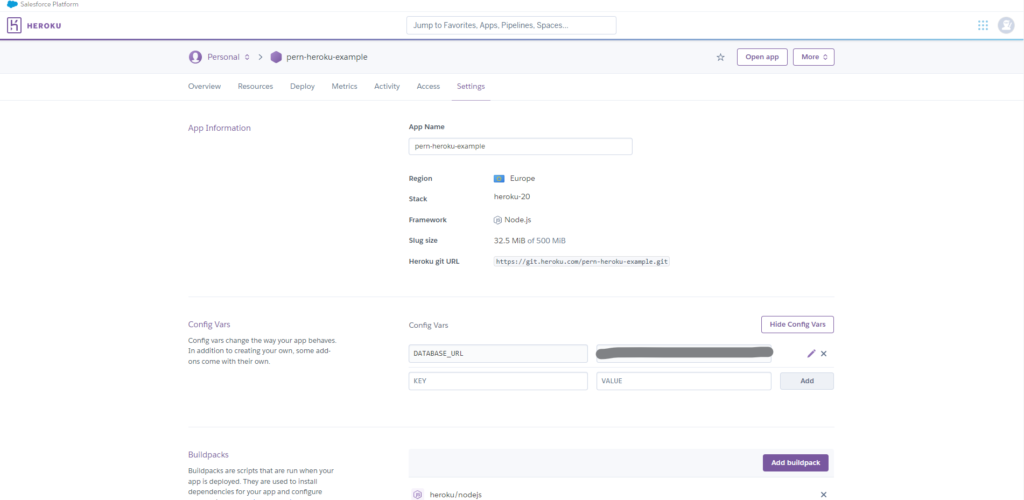
Add each of the database-related environment variable names you used in your app, but set the values to those provided by Heroku for your hosted Postgres database (the ones you copied across to pgAdmin).
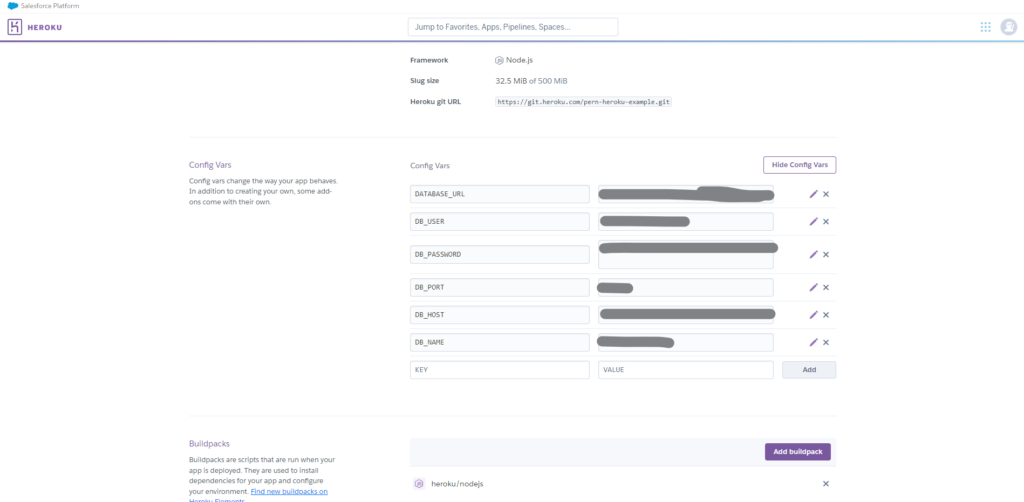
Finally, add an additional variable named PGSSLMODE and set the value to no-verify. This is a requirement from Heroku in order to connect to the Postgres database.
6. Open your app!
Now you should be able to see your app running by clicking ‘Open app’.
You can see my example here.
One reply on “How to Deploy a Full Stack (PERN) App to Heroku”
This will only start the backend server and cannot reach frontend